Tenerife here I come 🗺️
Good week
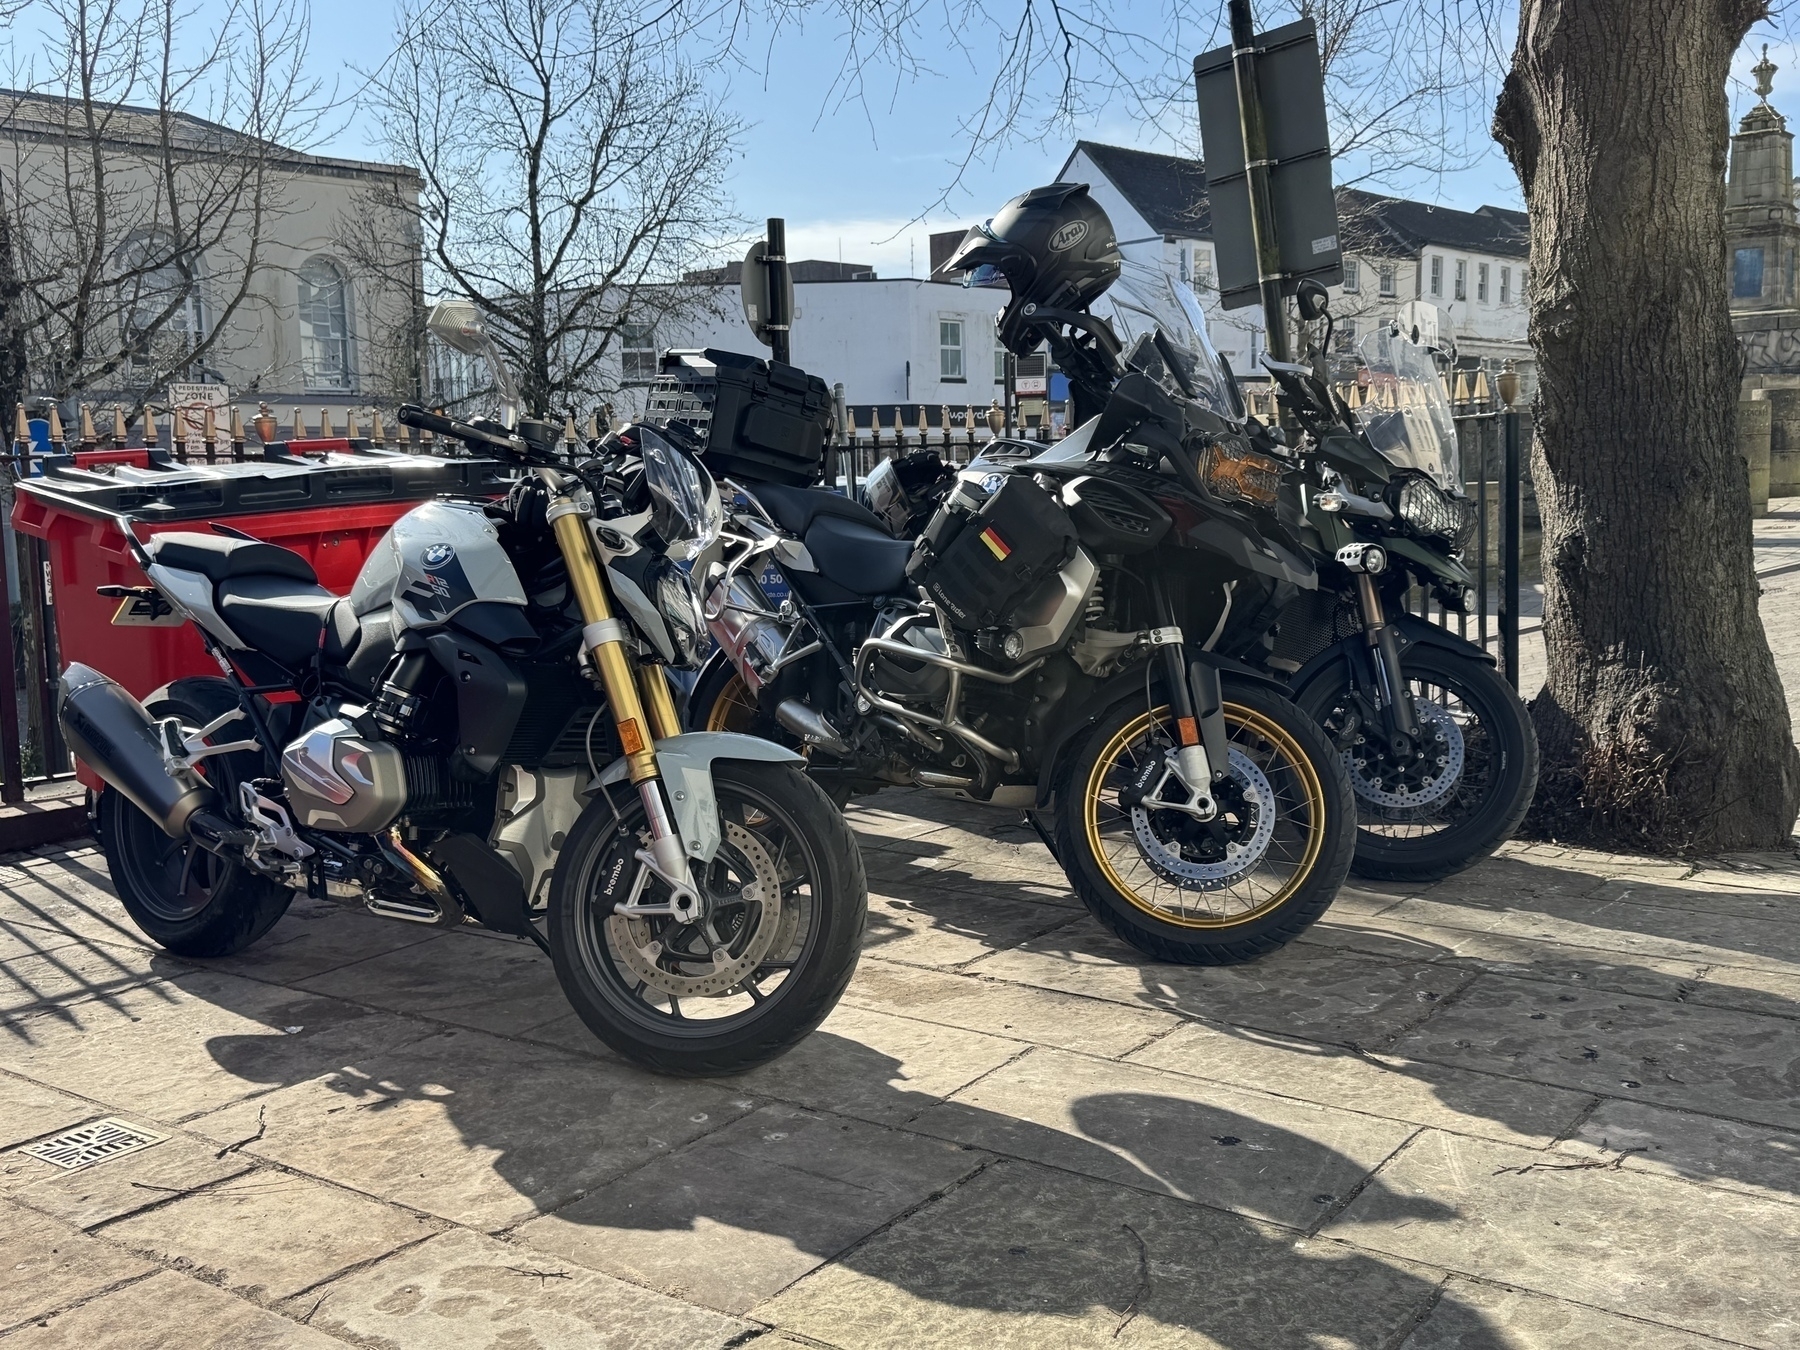
This has been a good week. Meeting with friends for a 135 mile motorcycle ride in the warm dry weather (my first ride in several months) was the highlight. Also feeling happy about my progress learning Ruby on Rails and development of an app to migrate from a Bubble.io app I built for a client around two years ago. This old dog can learn new tricks (or apply previous tricks learnt to new approaches).
My mental health and general physical health hasn’t been great this year. I’m still working on both but progress can be seen (by me at least - and that’s all that really matters).
🧠 🗺️ 🧑💻 🏍️ 🗣️
Hey news people
Hey news people, could it be that young people aren’t buying your newspapers or watching your live streamed 24/7 broadcasts because they don’t want a 20 minute opinion from someone they don’t know? That they would rather their get a 10 second insight in their Doomscroller of choice? Even if that poster is misinformed or even manipulative?
I see it in my young adult sons. I hear it about their friends and work colleagues.
You’re the Harley Davidson of the news. Time to change. That doesn’t mean snipping segments of your show or making a meme for the socials. Become relevant and inform them with just the facts. Leave out the opinions. That’s what I think would win them over.
Want to read: The Rural Planning Handbook for Low Impact Developers by Simon Fairlie 📚
This title is of interest to future me because I hope to live somewhere “off grid” later in life where I can enjoy nature and peace (with a dash of company, I hope).
Currently listening: The Last Drop by Tim Smedley 📚
Quite the eye-opener. I had seen the news about water shortages (Day Zero) in Cape Town, South Africa but this book goes into far more detail. And South Africa are far from alone, with areas of the US and India being among other countries grappling with severe shortages.
Want to read: Sapiens by Yuval Noah Harari 📚
Reserved the eBook from my local library - my first time doing this!
Currently reading: Meantime by Frankie Boyle 📚
My Motorcycle History
I’m a motorcyclist. Have been for coming up on twenty years now. It started as a means of commuting as we (back when I was married) couldn’t afford to run two cars. Prior to getting my first bike, and after our first son was born, I had to rely upon lifts to and from work either from colleagues or my wife. It wasn’t long before the riding bug bit me and the 125cc learner bike wasn’t enough! As luck would have it, some local criminals shared the same thought and kindly stole my 125 and the insurance payout was enough to get me my direct access course paid for and within a year of riding I was now able to ride any capacity bike.
A 650cc single followed. I still remember the surprise as I popped an accidental mini wheelie pulling away from a set of traffic lights a little exuberantly the first time! Unfortunately the bike needed lots of work to keep it on the road and was a bit of a lemon 🍋.
Next was an 800cc parallel twin. Brand spanking new. It was glorious. Lots of fancy tricks and even had a matching top case to hold my rucksack when going to work or storing my helmet and some shopping when volunteering to pop to the supermarket for the slightest thing 😁. I had two minor accidents on that bike (slipped on loose gravel at a traffic calming area, had a car switch lanes whilst queuing as I was pootling past them to stop at a set of traffic lights). No harm done, but the repairs were expensive. I’d also taken my first European trip with some new biker friends from a forum. And I now knew Wales a little better too!
The tour in Europe combined with Charlie & Ewans adventures had me yearning for more adventures of my own. Once the PCP term was over with the 800cc, I moved to my first 1200cc boxer twin … the GS. This was back when they were still air and oil cooled.
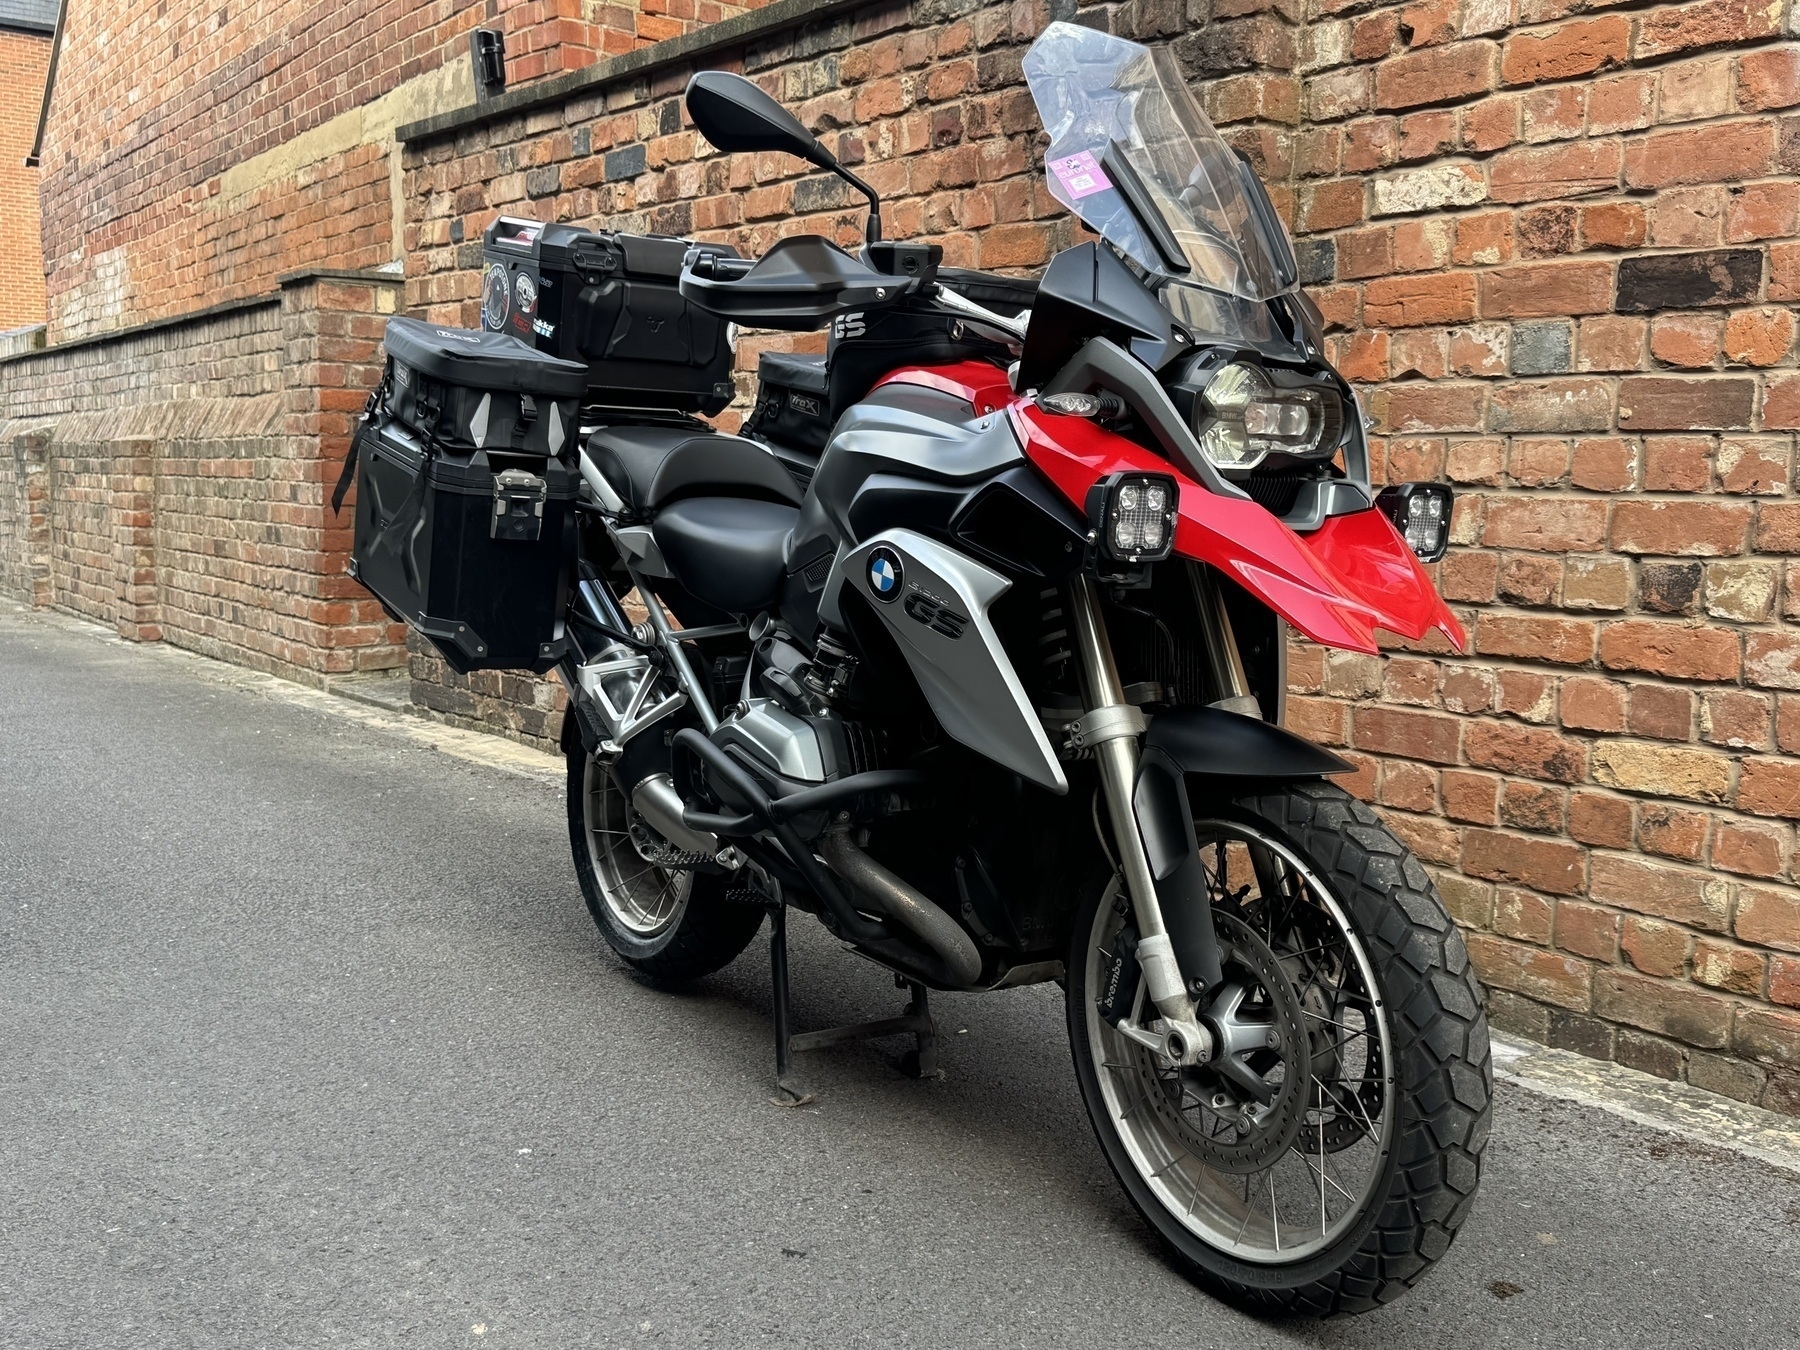
This turned out to be my first of two GS bikes as once I sold this one, after a short break from ownership, I bought a barely used liquid cooled 1200 GS. I had the means to kit this one out to suit my needs, unlike previous bikes, so added aux lights, hard luggage, crash bars and more. We travelled the south west of England, Wales and even did the NC500 and returned again to visit Scotland twice more! We also rode around Spain, did a trip to the French west coast and did many more local rides including a few work trips to London.
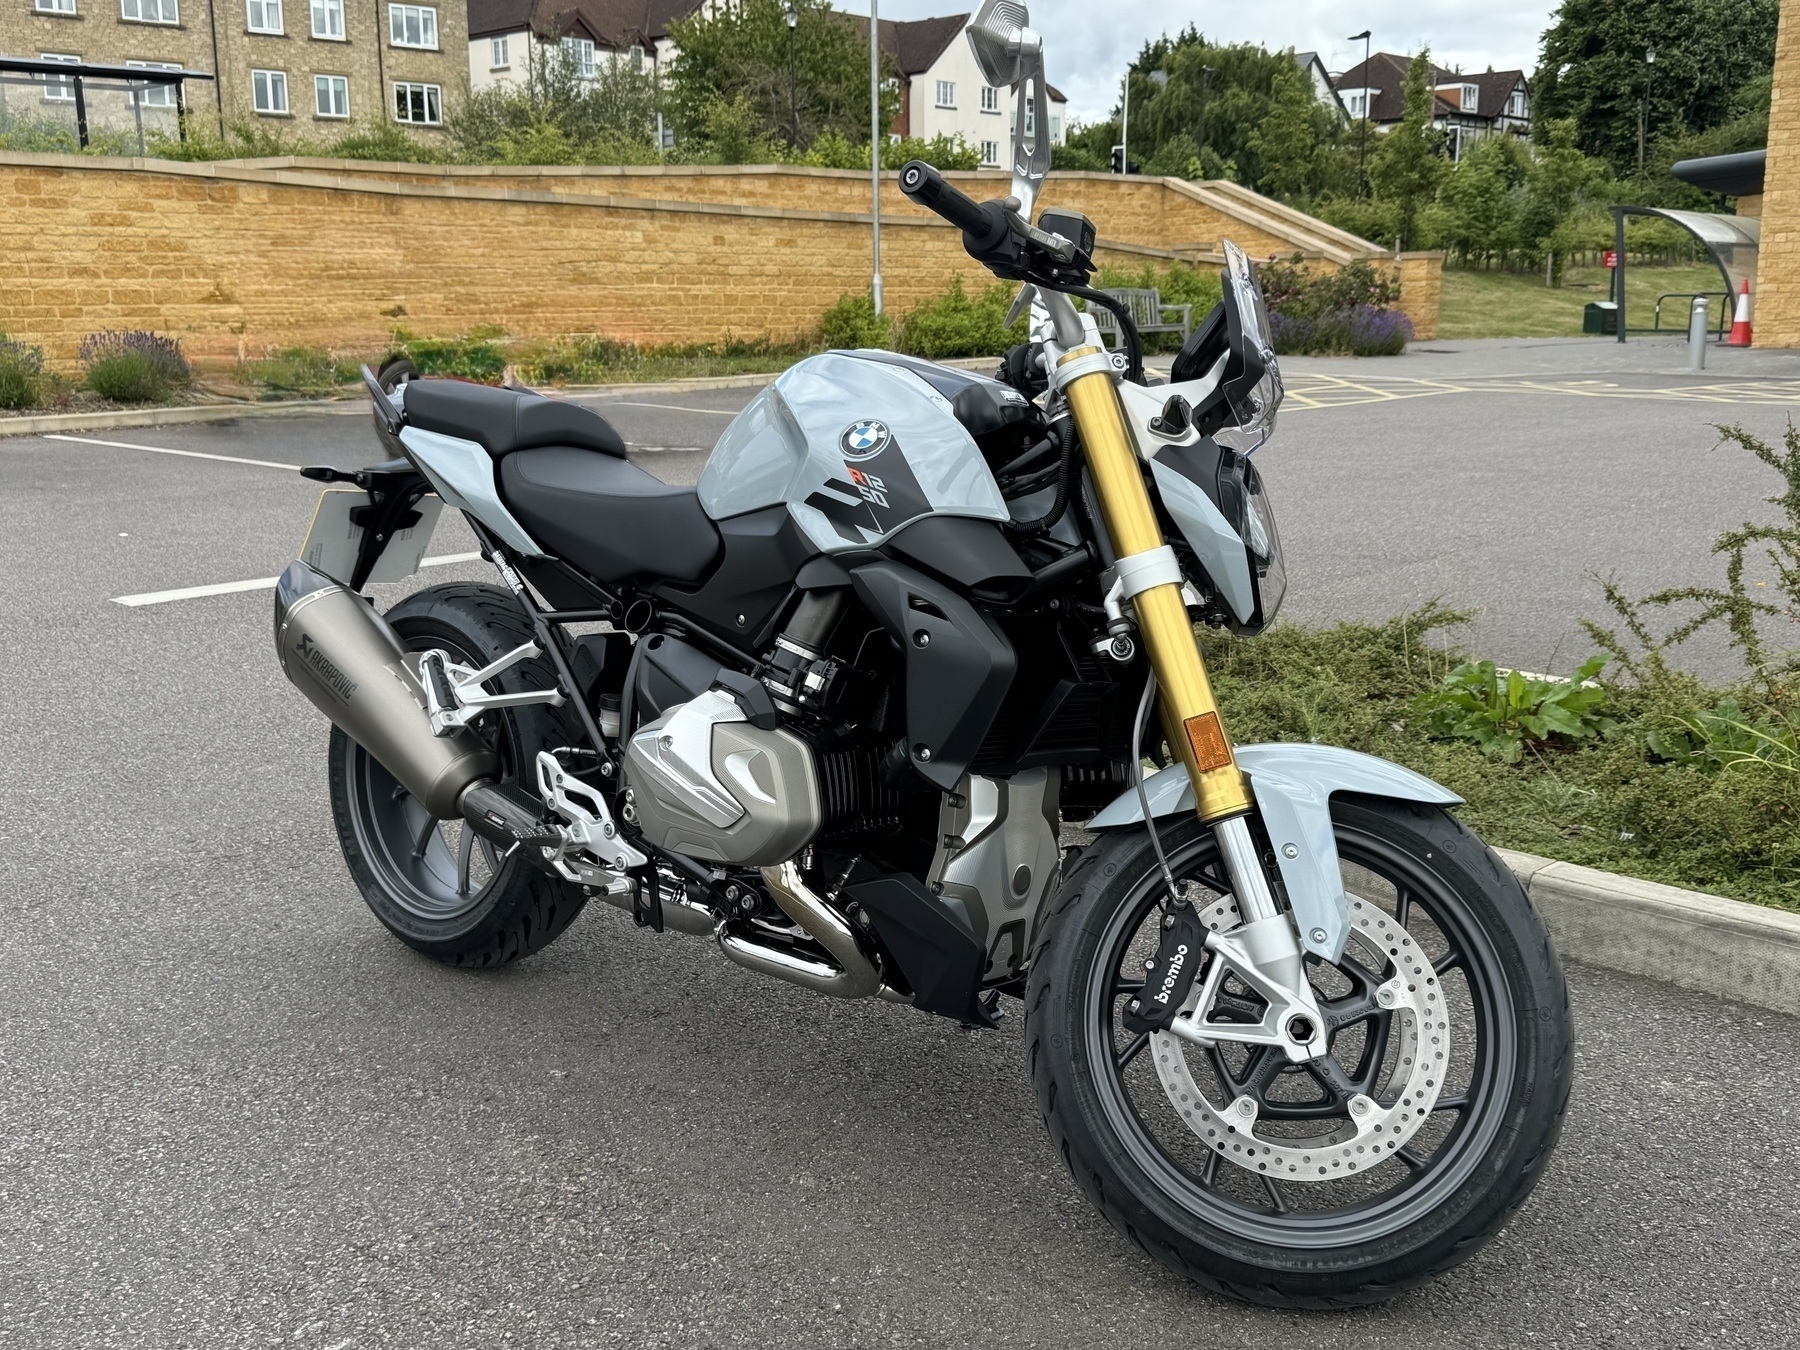
When it was finally time to part ways I thought about the type of riding I wanted to do going forward. No more commuting, no green lanes or off roading for me. Leisure riding, weekend trips away locally and the occasional Europe trip. This time around I opted for a fully ticked out R 1250 R complete with Option 719 accessories.
This week my younger son (soon to be 19) announced in the usual way a teenager does, that he is considering getting his A2 license! We will see if this comes to pass, but it would be very nice to do some joint rides together and with spring coming soon, it’ll be an ideal time.
Removing DRM from Audible purchases
I’ve recently begun detangling myself from big tech. Gone is Google, Apple is going to take some time but I will get there. Follow along for updates on how I achieve this (home NAS with services for media and photos, device backups etc - and yeah, I know RAID isn’t a backup 😆).
This past week I have removed the DRM (Digital Rights Management) from my Kindle eBooks and Audible. The former is fairly straightforward, but the clock is ticking until Amazon remove the ability to download your purchases (without which, you won’t be able to remove the DRM).
What follows is a guide for informational purposes only. Use at your own risk.
Instructions
There are a few steps for removing the DRM from your Audible purchases. The first task is to obtain the unique to you DRM hex value from any of your purchases (note that if you have multiple accounts, then you’ll need to repeat it for each account). Once you have this, a free utility ffmpeg can be used to complete the removal of DRM on each file in a fairly painless way (I wrote a simple command script to facilitate this which I will share below.
Step 1 – Download any Audible book
Log in to your account in your browser, go to your Library and download any title you wish (you will eventually need to download all the titles).
Step 2 – Install ffmpeg onto your computer
Windows users, you can find pre-compiled versions at https://ffmpeg.org/download.html. For Linux and macOS users you can use the following command:
sudo apt-get install ffmpeg
Step 3 – Obtain the Git respository tool
WIndows users can use WSL, Linux and macOS can you your Terminal to execute the following command to obtain the tools necescary to obtain your Hex value:
git clone https://github.com/inAudible-NG/tables
Then cd (change directory) into inAudible-NG and then tables.
Step 4 – Use fprobe to obtain the checksum
Copy your downloaded book into the tables folder.
From your command line enter the following command (replacing your-filename with the full filename and extension (.aax)):
ffprobe your-filename 2>&1 | grep checksum
This will output some text, copy the lengthy checksum value without trailing or leading space. We will need this only once for the next step.
Step 5 – Get your unique DRM Hex value
Now that we have your checksum value we can use another tool we have downloaded to extract the DRM Hex value in your chosen file. Remember that this value is unique to you and is the same for all your Audible purchases. Therefore, we only need to do this step once 😁
Enter this command replacing checksum with the value you copied in the step above:
./rcrack . -h checksum
In the output locate your Hex code at the bottom and keep it safe - you will need this for the final (repeated) step.
Step 6 – Clean up
We are now finished with the folder we downloaded. If you moved, instead of copying, your file into tables go ahead and move it to somewhere else. Now would be a good time to create a new folder to store all your Audible files in.
With that done, go ahead and delete inAudible-NG.
Step 7 – Remove the DRM from your files
Well done! Everything above was only necessary once! The next command needs to be executed for each of your files.
Create a new folder on your Desktop named noDRM.
From the command line navigate to the location of all your DRM files.
for file in /path-to-DRM-folder/*; do base_name=$(basename "${file}" .aax); ffmpeg -activation_bytes hexCode -i "$file" -c copy /path-to-the-noDRM-folder/${base_name}.m4b; done
Now edit the text above in your command line setting path-to-DRM-folder with the full path to your DRM folder, with a / at the start and the end. Then do the same for path-to-the-noDRM-folder. Finally, replace hexCode with the one you obtained in step 5.
And you are done!
By all means open the noDRM folder and watch as the files are added there as .m4b files (VLC Player and many other apps can open this file format). If you need to do this again for any new purchases from Audible, you need only place the purchased file in the DRM folder and run the above command (remember to remove any processed files first or it’ll run through them all again).